Let’s make a paper cactus wall art. There is no substitute for the beauty of a real cactus but it would still be fun to own one that will not ever wilt. LOL!
I remember traveling when I was a young adult and passed by a home that displayed a huge collection of cacti in their front yard. It looked so interesting and I was so drawn to it that I actually knocked and talked to the owner and expressed my awe at the wonderful collection. The owner was so accommodating , warm and generous that she gave me a cacti of each variety she had.
As grateful as I am for owning a wide collection of cacti, I tried my hardest to keep those cacti alive as long as I could but at some point they died on me one at a time. Seriously?! Low maintenance at that and I couldn’t keep them alive.
Anyway, want to make the paper version? Here’s how.
MATERIALS:
Construction paper
Glue stick
White glue
Picture frame
Scissors
Acrylic Paint
Chalkboard paint
Paintbrush
Chalk stick
Use a wooden frame or a picture frame without any glass or acrylic sheet covering.
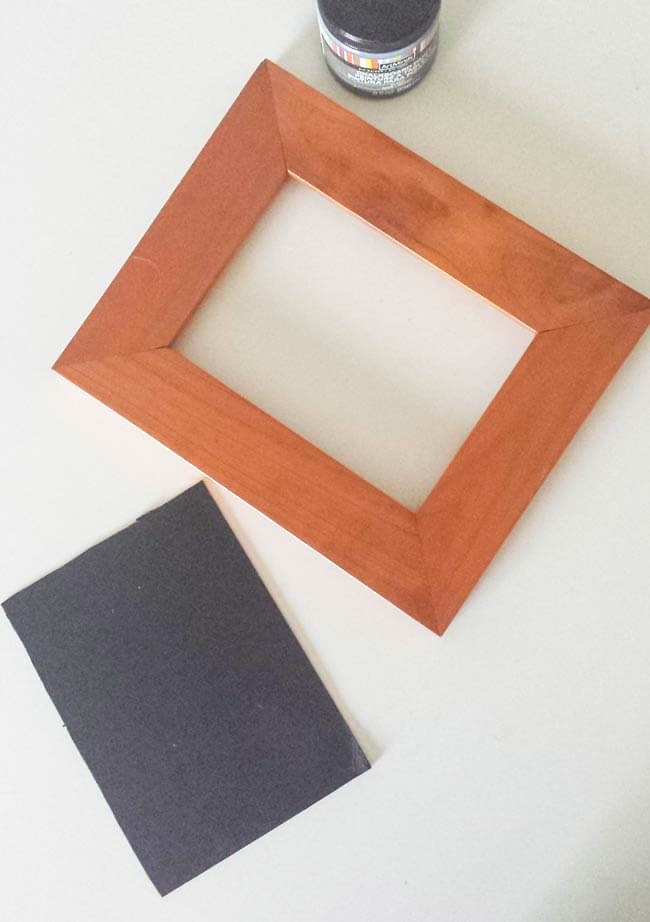
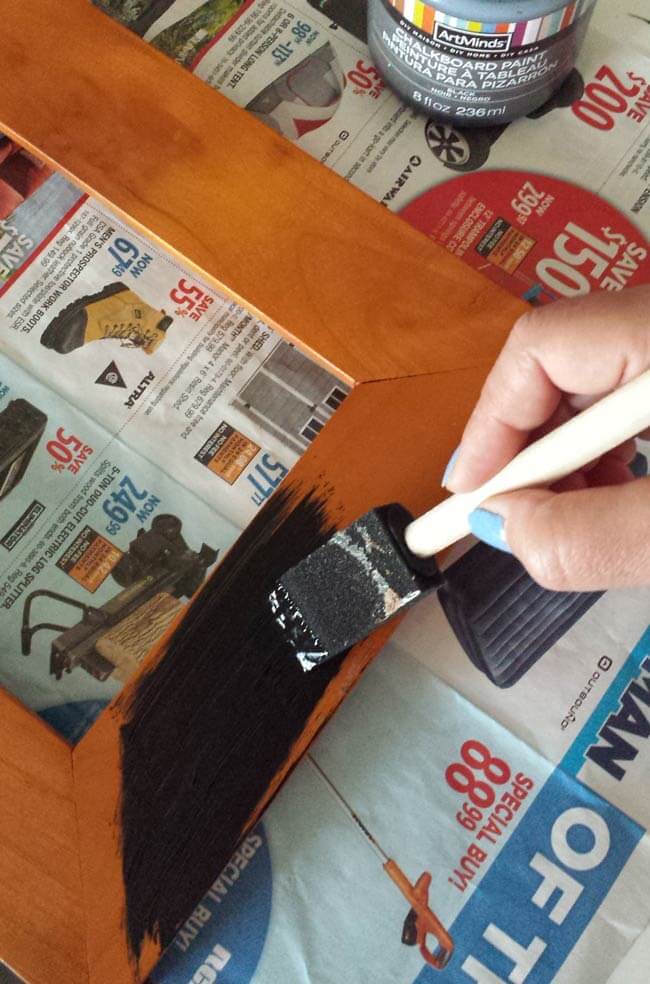
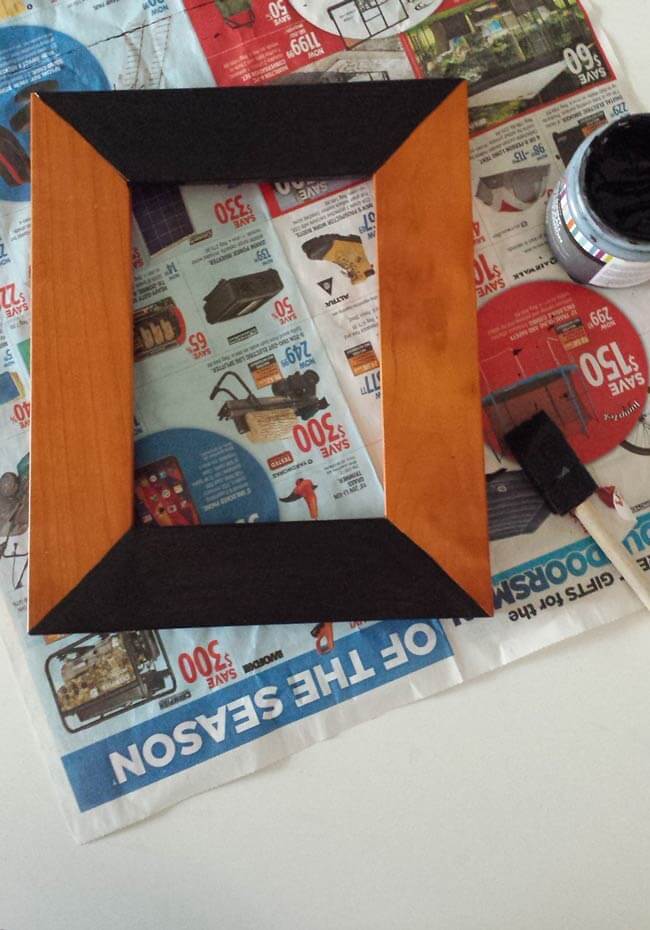
Next, paint the top and bottom section of the frame with chalkboard paint. Two coats will do. Allow an hour in between coats for it to dry.
Then paint the board with any light color you like, as for me I used robin egg blue acrylic paint.
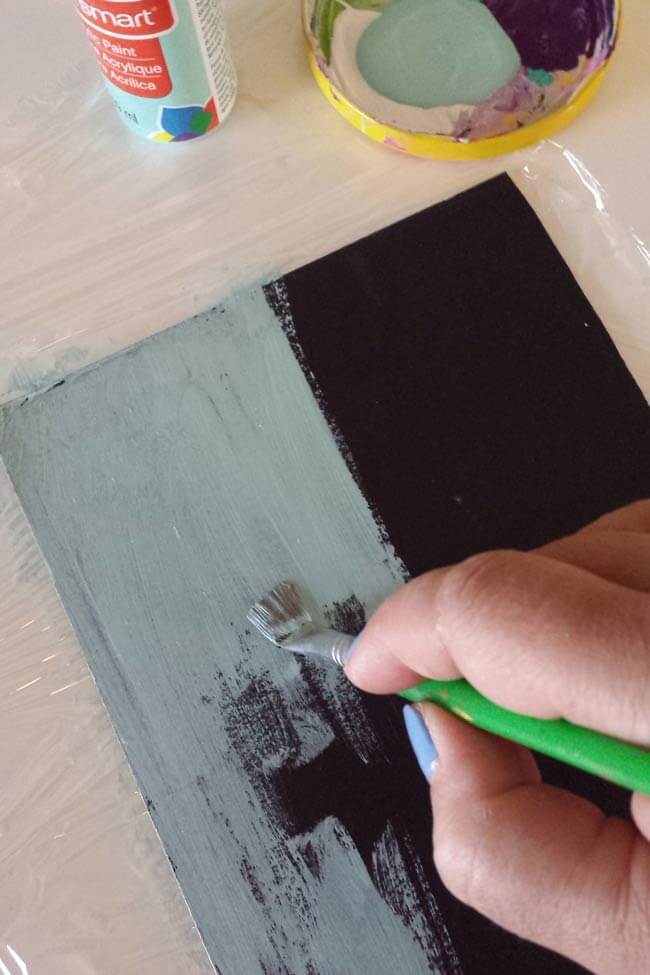
Let that dry then move on to the paper craft for the cactus wall art. You’ll need a brown, red and green construction paper.
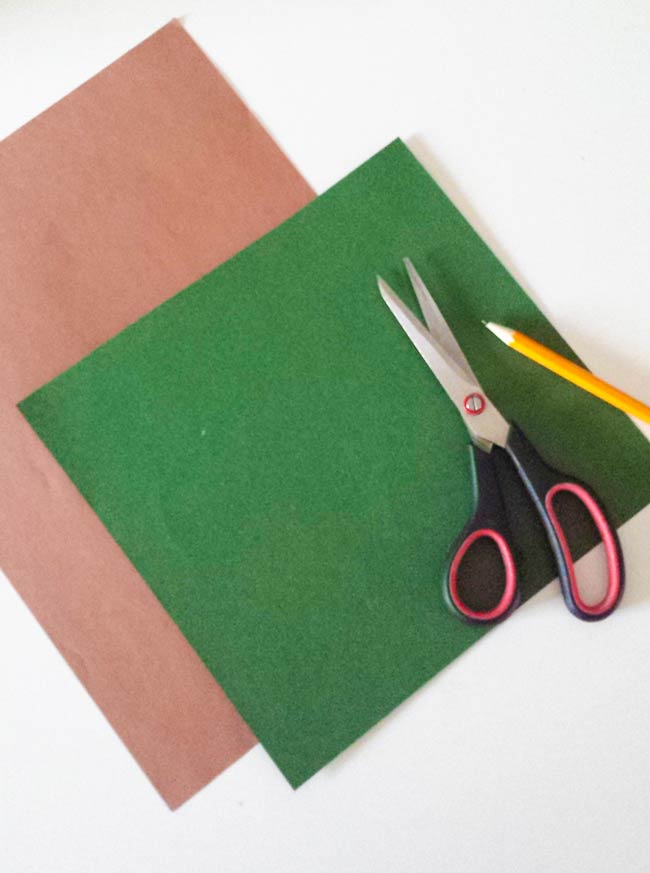
Draw a plant pot on brown paper. then cut out one and trace several pieces on that paper.
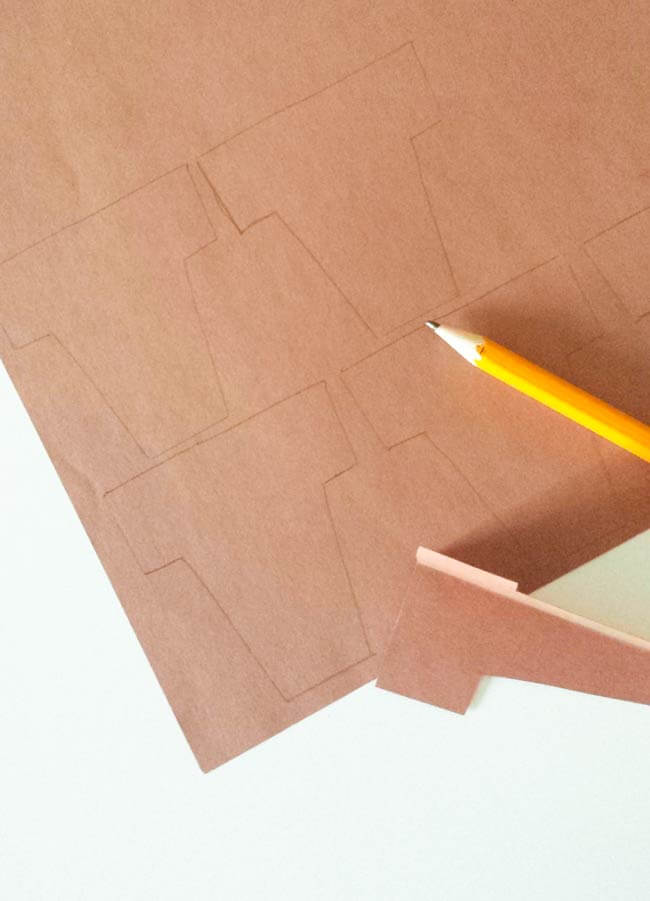
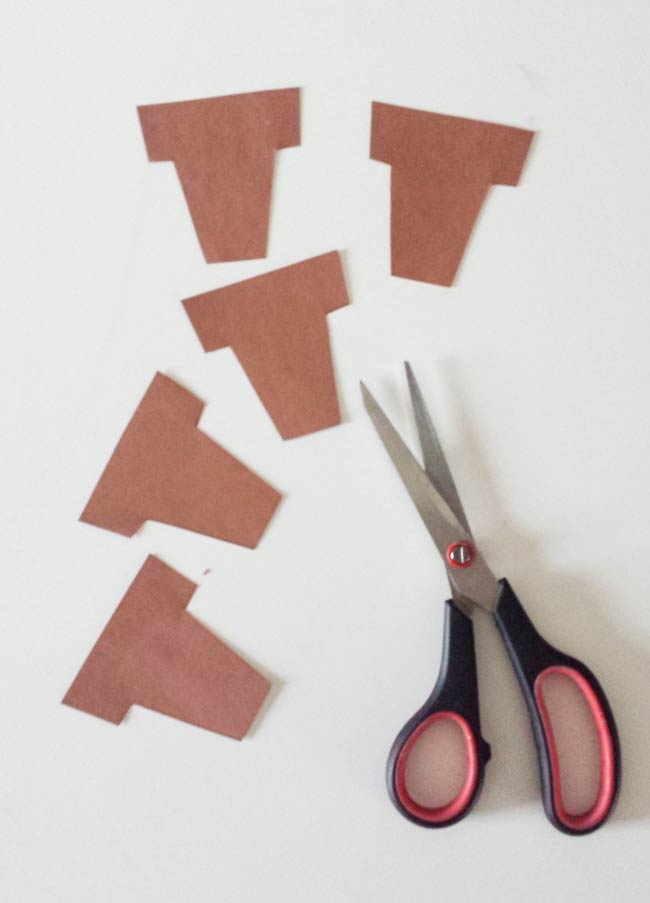
After that, cut out the plant pot and fold it in half.
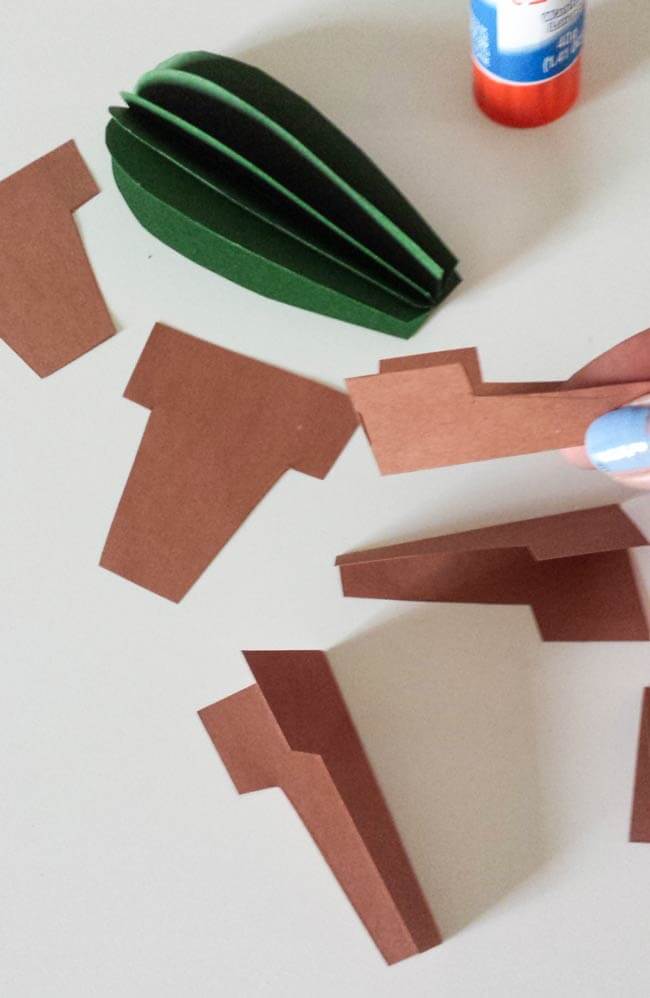
Now, get your green construction paper and draw and cut the shape of a cactus. A simpler one would just be a sort of oval one with the top bigger and the bottom slimmer.
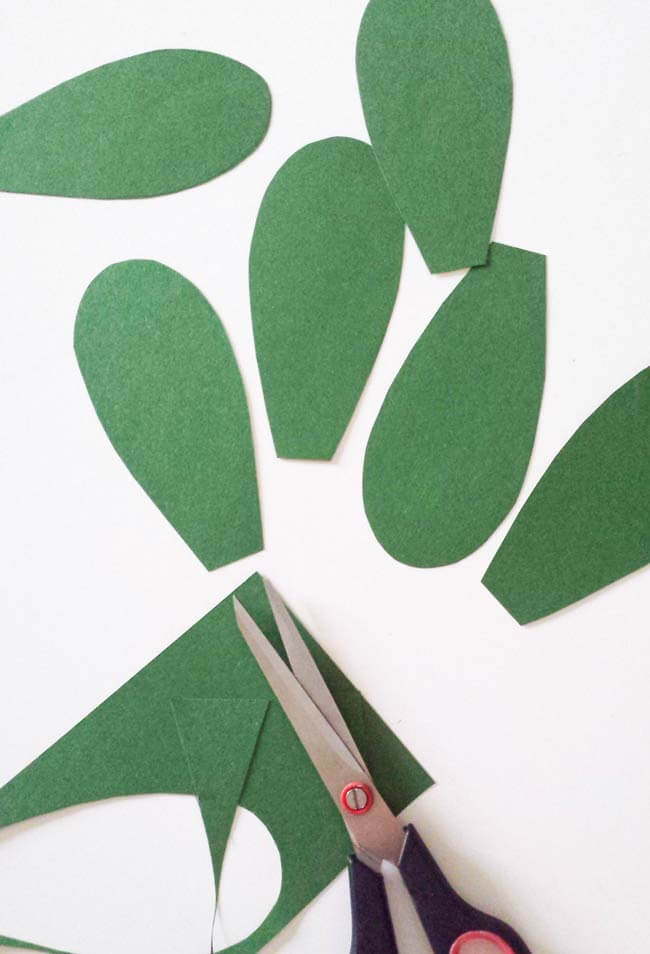
Fold those in half. When all the pieces have been folded, glue the one edge of a piece to another piece. Press together so the paper sticks. Do the same process until you’ve glued all the pieces together.
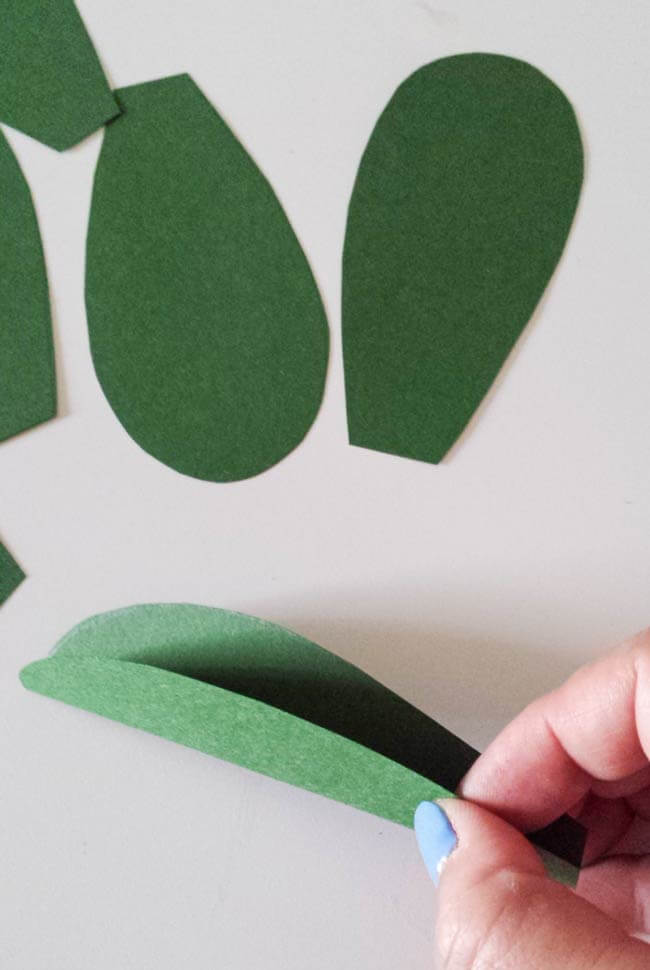
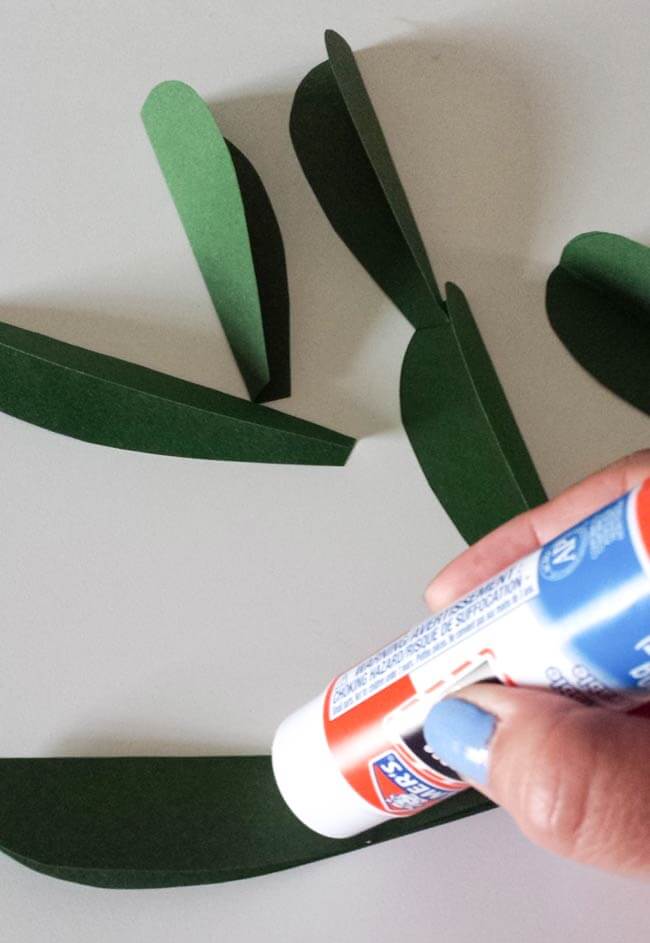
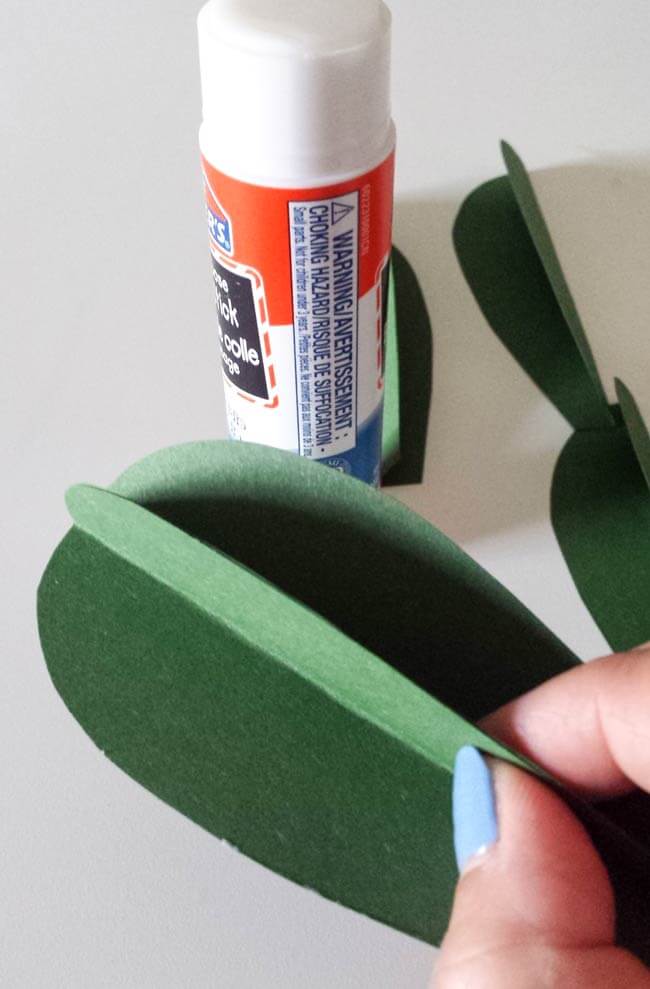
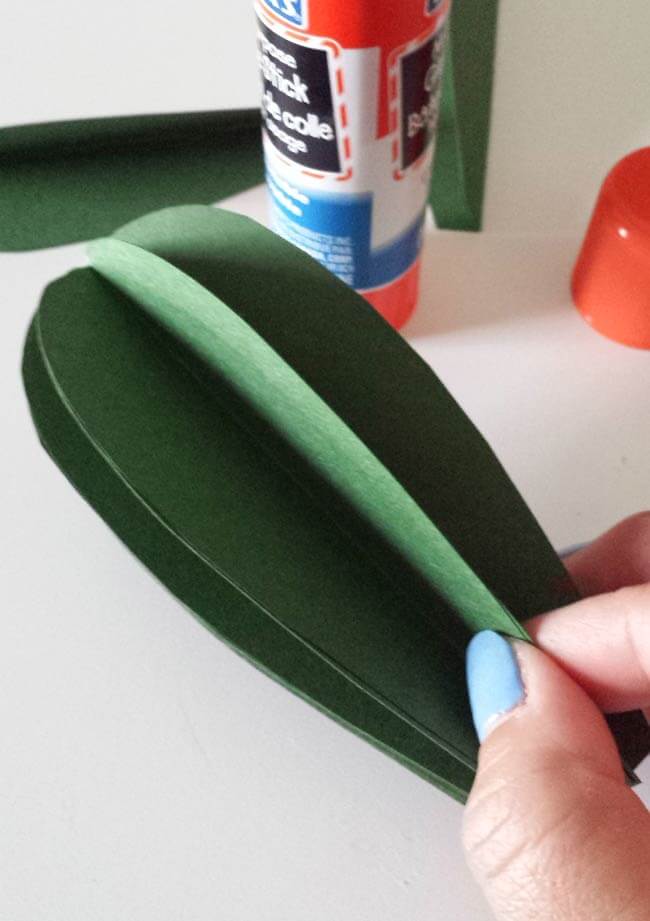
You’ll be doing the same process with the folded brown paper.
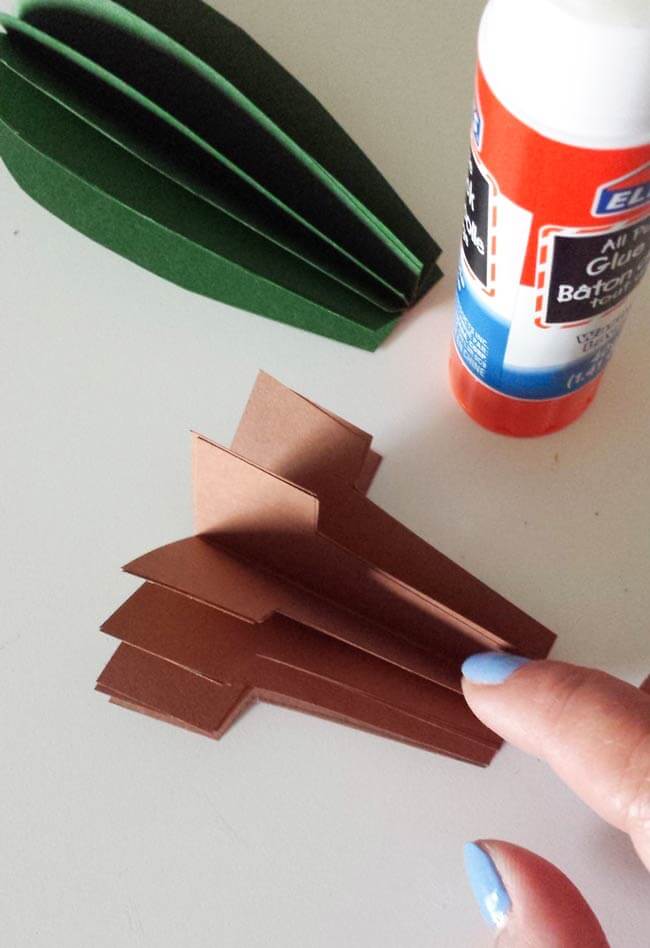
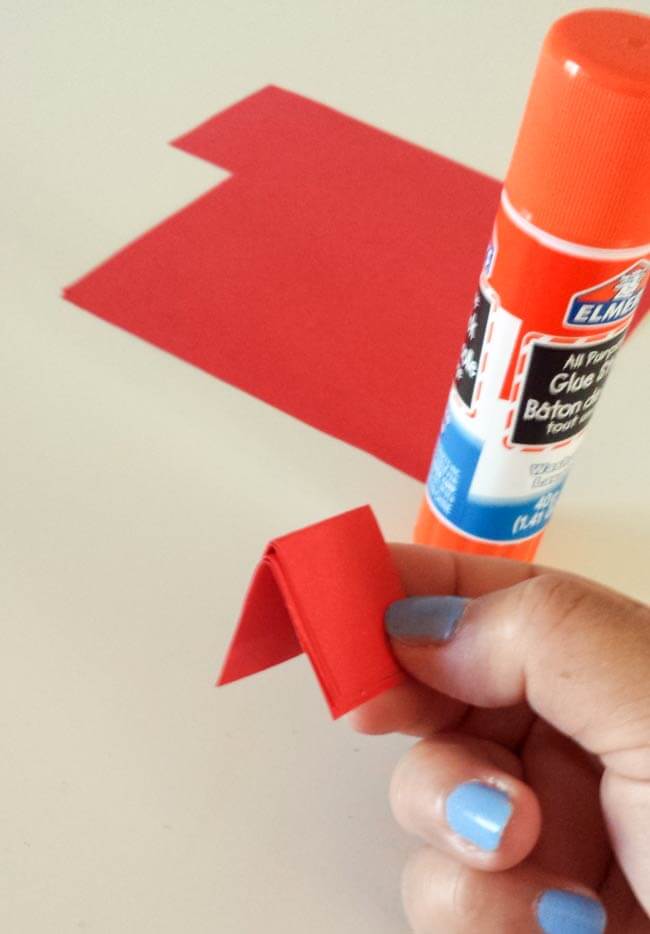
Next, make a blossom. Use a red or dark pink paper. Cut out rectangle shapes and fold it in half then cut out a circle from the bundle. Paste the pieces together like you did for the cactus and plant pot.
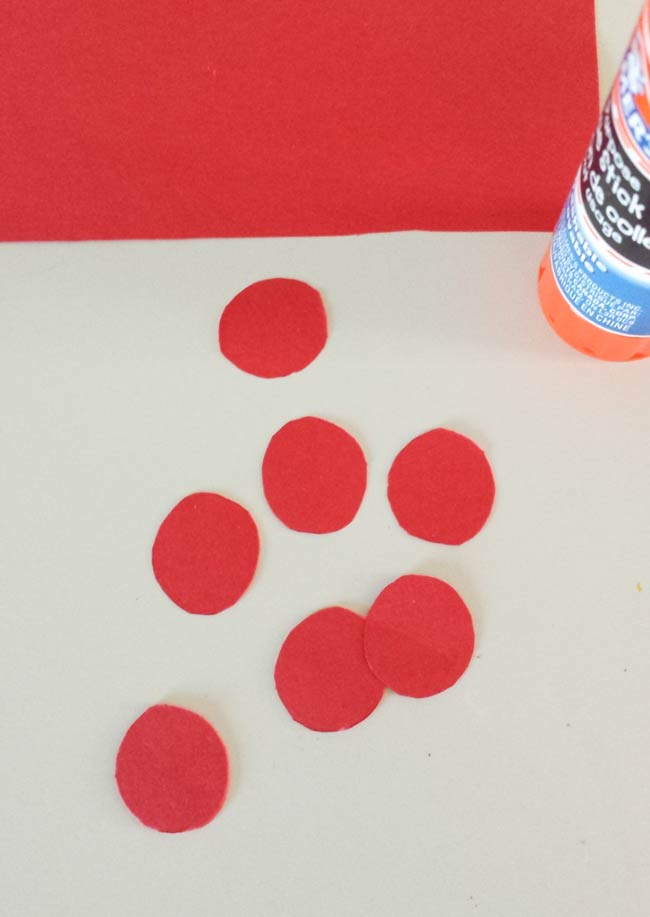
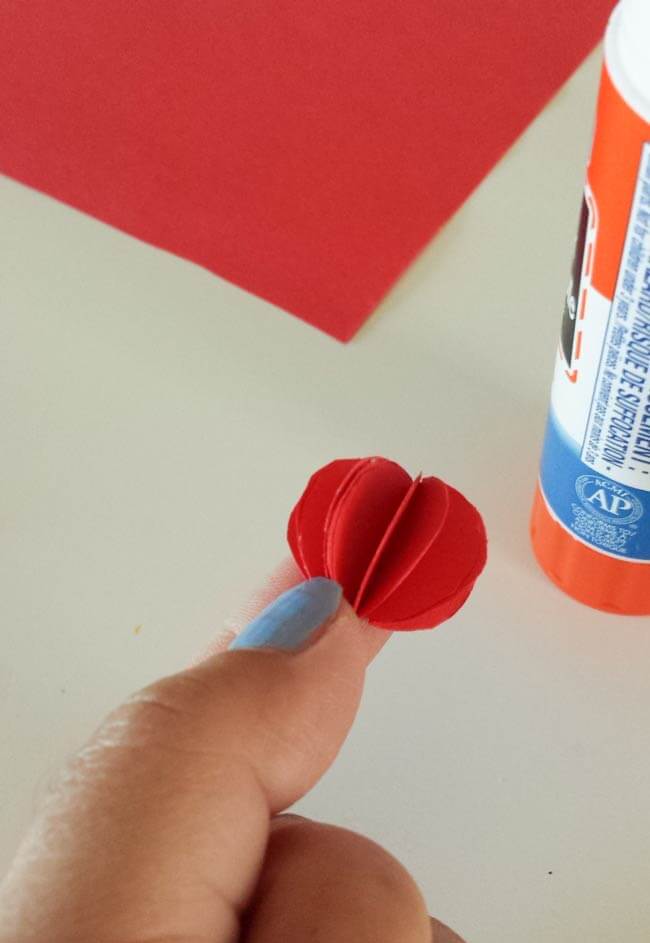
Glue the blossom on the cactus. Then glue your plant pot on the board. Next glue the cactus onto the board.
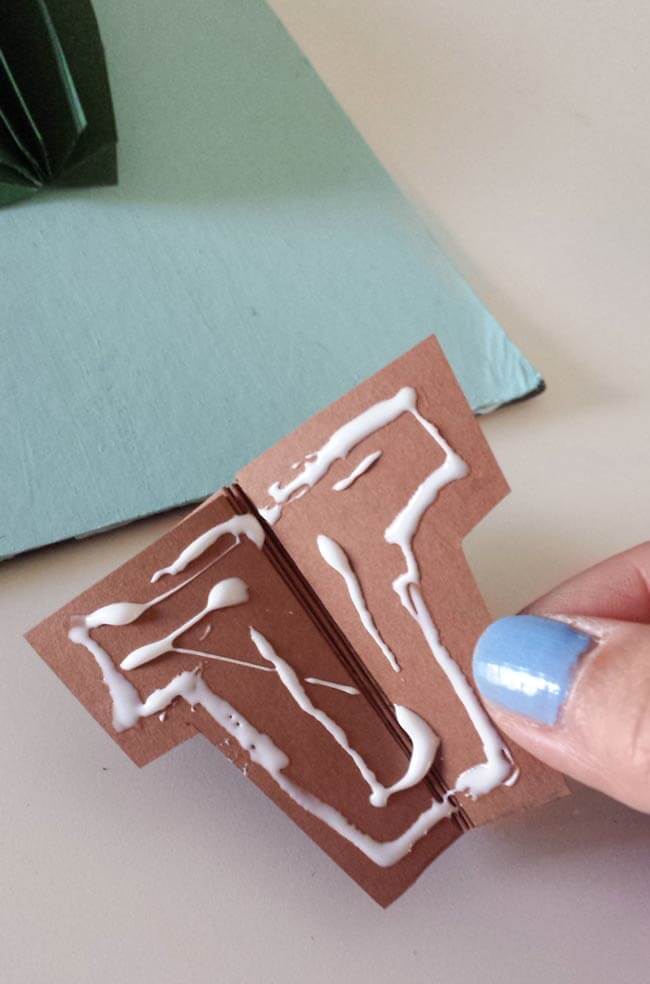
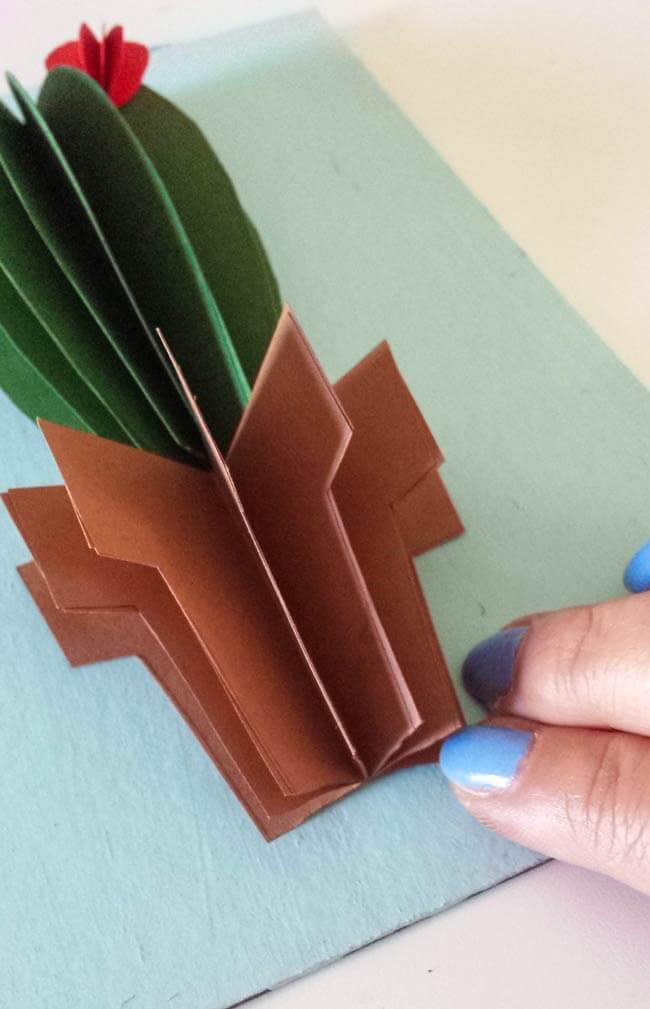
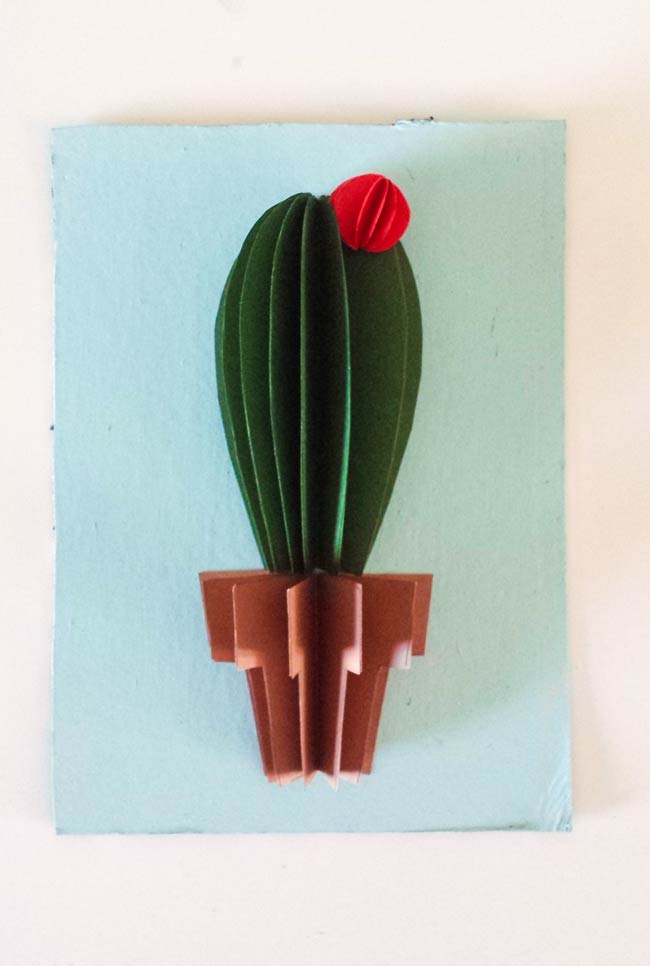
Place the board on the frame.
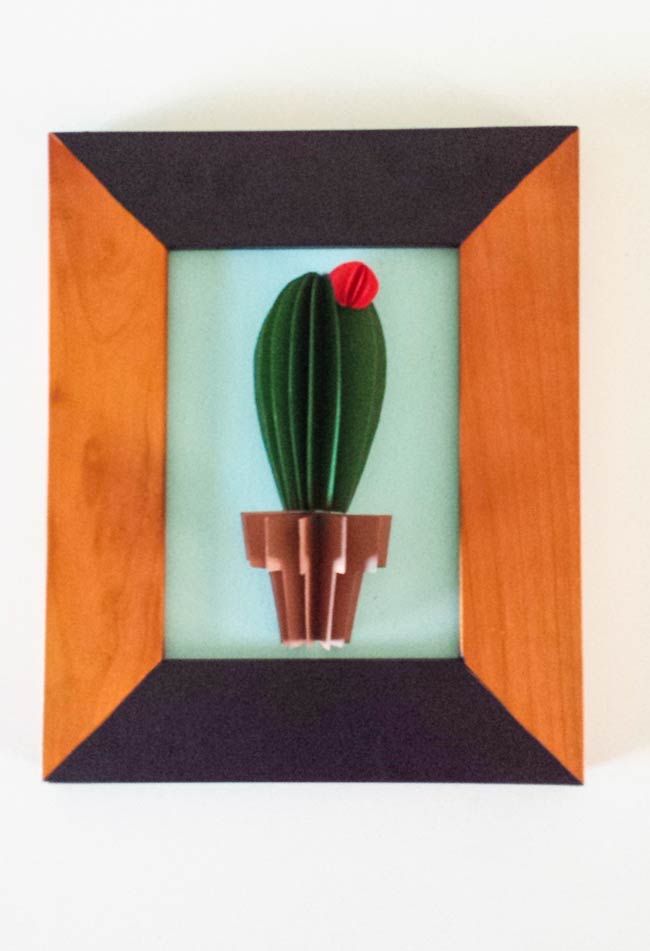
Paper Cactus Wall Art
You’re a step away from finishing this wall art. The last step would be writing on the frame. Write anything you like on the frame sections where you painted chalkboard paint on.
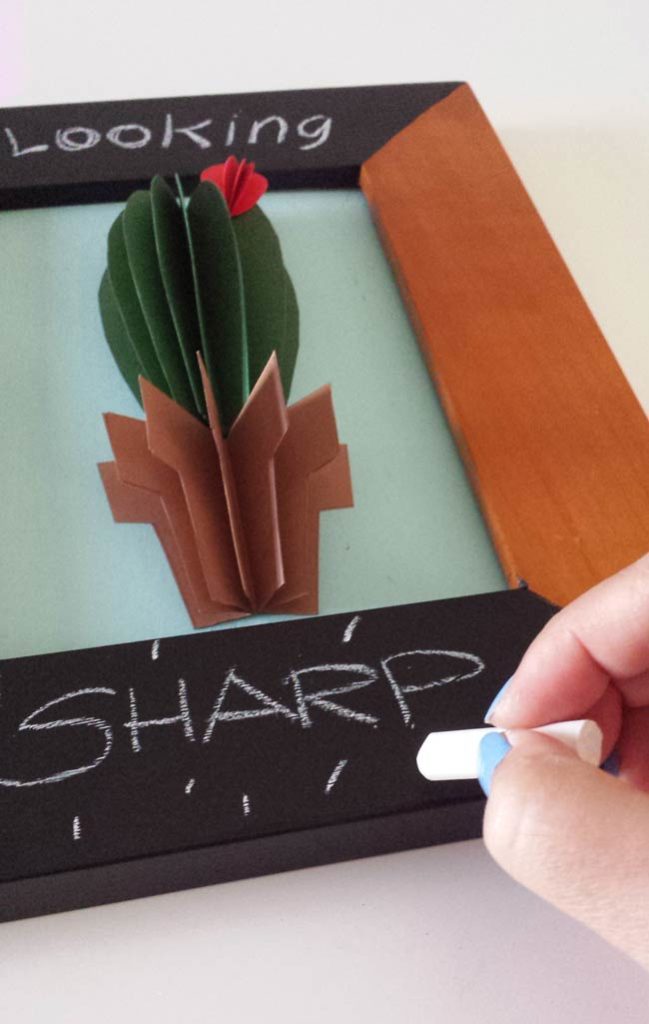
Hey hey not too shabby eh. In fact it’s looking sharp!
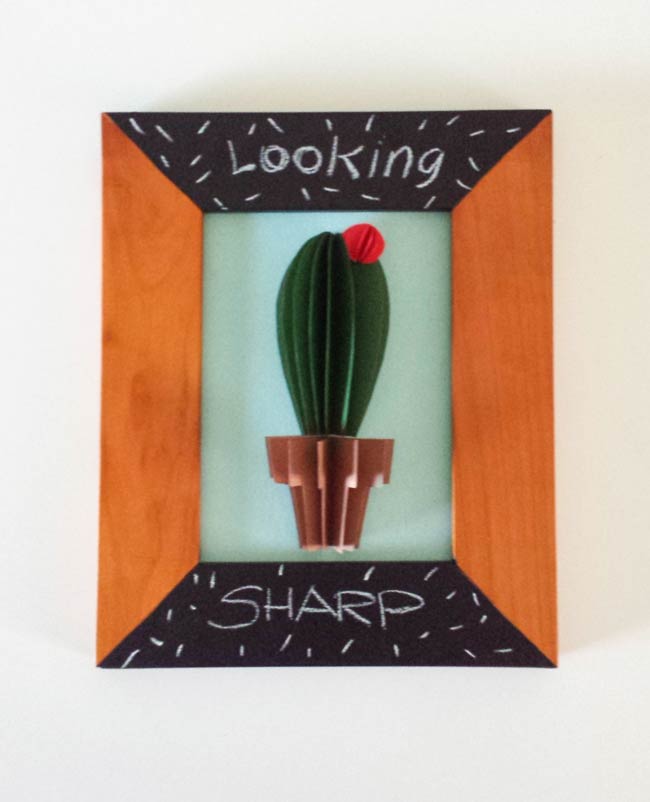
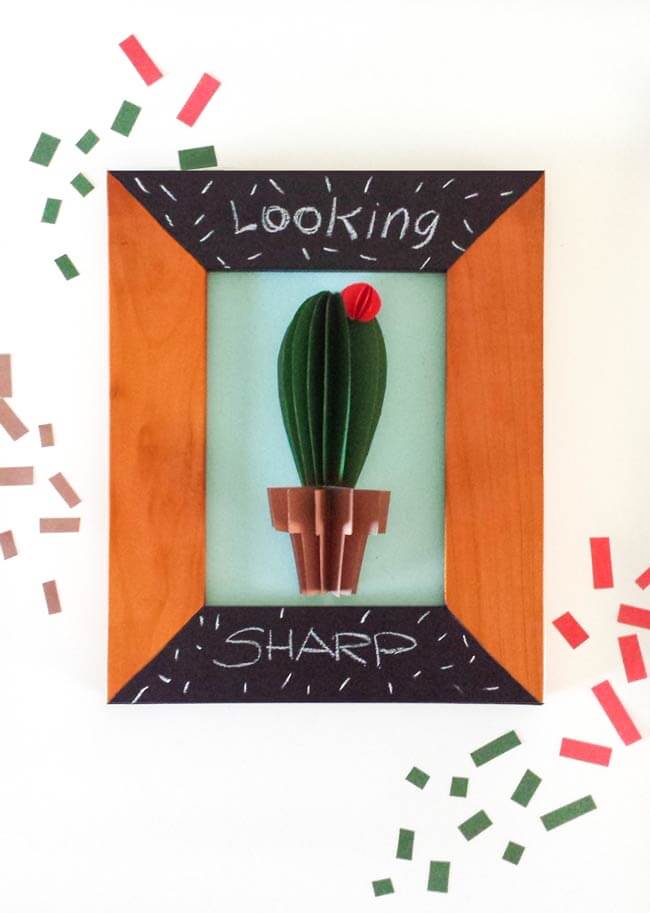
You can totally rock this!

